The Ultimate Guide to Testing a Cam Positioning Sensor: Step-by-Step Instructions

The Ultimate Guide to Testing a Cam Positioning Sensor: Step-by-Step Instructions

The Ultimate Guide to Testing a Cam Positioning Sensor: Step-by-Step Instructions

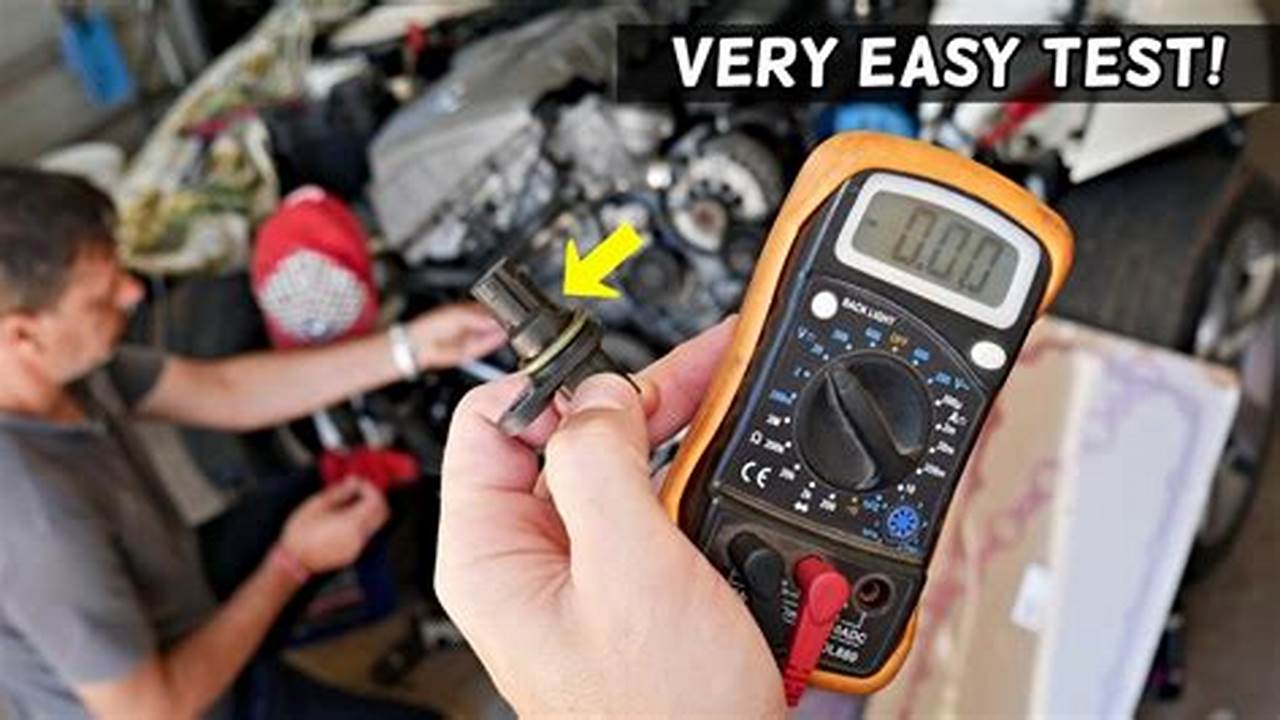
A cam positioning sensor is a device that determines the position of a camshaft in an internal combustion engine. This information is used by the engine’s electronic control unit (ECU) to control the timing of the engine’s valves. A faulty cam positioning sensor can cause a variety of engine problems, including rough idling, poor fuel economy, and reduced power.

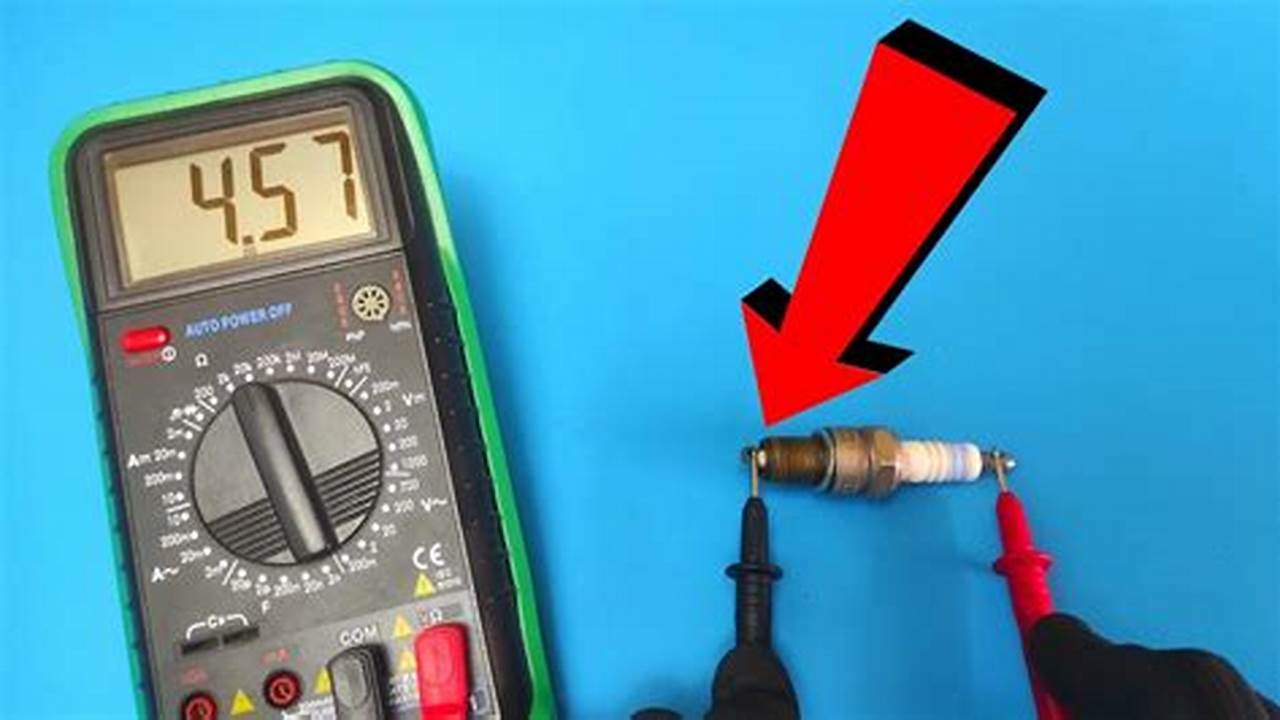
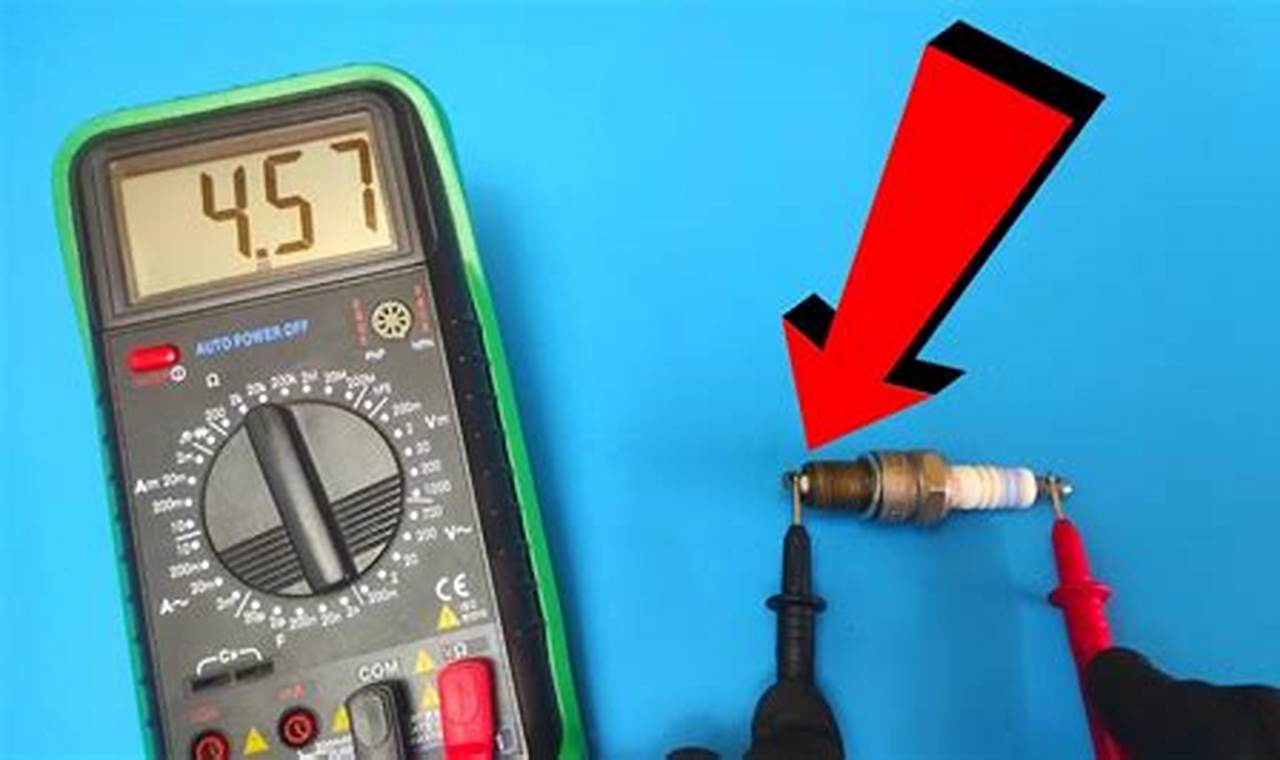
There are several ways to test a cam positioning sensor. One method is to use an oscilloscope to measure the sensor’s output signal. The oscilloscope should be connected to the sensor’s signal wire, and the engine should be running. The oscilloscope should display a waveform that corresponds to the position of the camshaft. Another method of testing a cam positioning sensor is to use a multimeter to measure the sensor’s resistance. The multimeter should be set to the ohms setting, and the probes should be connected to the sensor’s terminals. The multimeter should display a resistance value that is within the manufacturer’s specifications.

Read more

The Ultimate Guide to Testing Ecommerce AIs: Boost Your Sales Today!

The Ultimate Guide to Testing Ecommerce AIs: Boost Your Sales Today!

The Ultimate Guide to Testing Ecommerce AIs: Boost Your Sales Today!

E-commerce artificial intelligence (AI) is the use of AI technologies to automate and improve the efficiency of e-commerce processes. This can include tasks such as product recommendations, fraud detection, customer service, and inventory management.

Testing e-commerce AI is crucial to ensure that these systems are working as intended and are not introducing any errors or biases. There are a number of different approaches to testing e-commerce AI, and the best approach will vary depending on the specific system being tested.

Read more

The Ultimate Guide to Testing Spark Plugs with an Ohmmeter: A Step-by-Step How-to

The Ultimate Guide to Testing Spark Plugs with an Ohmmeter: A Step-by-Step How-to

The Ultimate Guide to Testing Spark Plugs with an Ohmmeter: A Step-by-Step How-to

Testing spark plugs with an ohmmeter is a simple procedure that can help you determine if they are functioning properly. An ohmmeter is a device that measures electrical resistance, and it can be used to test the resistance of a spark plug’s electrode. A spark plug is a device that creates an electric spark in an internal combustion engine, and it is essential for the engine to run properly.

To test a spark plug with an ohmmeter, you will need to remove the spark plug from the engine. Once the spark plug is removed, you can use the ohmmeter to measure the resistance between the center electrode and the ground electrode. The resistance should be between 2,000 and 10,000 ohms. If the resistance is too high or too low, the spark plug may not be functioning properly and should be replaced.

Read more

How To Test A Motor Capacitor: Step-by-Step Guide for Electrical Beginners

How To Test A Motor Capacitor: Step-by-Step Guide for Electrical Beginners

How To Test A Motor Capacitor: Step-by-Step Guide for Electrical Beginners

A motor capacitor is an electrical device that is used to improve the performance of an electric motor. It is typically connected in parallel with the motor’s windings and helps to increase the motor’s starting torque and reduce its operating temperature. Motor capacitors are also used to improve the power factor of an electric motor, which can reduce energy consumption.

There are a few different ways to test a motor capacitor. One common method is to use a multimeter to measure the capacitance of the capacitor. Another method is to use a capacitor tester, which is a specialized device that can test the capacitance, resistance, and inductance of a capacitor.

Read more

How to Test an Oxygen Sensor with a Multimeter – A Quick and Easy Guide

How to Test an Oxygen Sensor with a Multimeter - A Quick and Easy Guide

How to Test an Oxygen Sensor with a Multimeter - A Quick and Easy Guide

Oxygen (O2) sensors are vital components of a vehicle’s engine management system, playing a crucial role in maintaining optimal air-fuel ratio and reducing harmful emissions. These sensors monitor the oxygen content in the exhaust gases and provide feedback to the engine’s electronic control unit (ECU), which adjusts the fuel injection accordingly. To ensure the proper functioning of O2 sensors, periodic testing is essential, and using a multimeter is a simple and effective method for this purpose.

Testing O2 sensors with a multimeter involves measuring their voltage output under different operating conditions. By comparing the obtained readings with the manufacturer’s specifications, one can determine if the sensor is functioning correctly or needs to be replaced. This testing process contributes to maintaining optimal engine performance, reducing fuel consumption, and minimizing environmental impact.

Read more

How To Test A Water Heater Heating Element Like A Pro

How To Test A Water Heater Heating Element Like A Pro

How To Test A Water Heater Heating Element Like A Pro

Testing the heating element in a water heater is a crucial step in troubleshooting and maintaining the unit’s functionality. A faulty heating element can lead to insufficient hot water, increased energy consumption, and potential safety hazards.

To test the heating element, you will need a multimeter and a few basic tools. First, turn off the power to the water heater and allow it to cool down. Then, remove the access panel to expose the heating element. Using the multimeter, set it to the ohms setting and touch the probes to the terminals of the heating element. A reading of infinity (no continuity) indicates a faulty element that needs to be replaced.

Read more