Renaming layers in Photoshop is a crucial step in organizing and managing your project. It helps you keep track of different elements, especially when working with complex designs. Here’s how to rename layers in Photoshop:
1. Select the layer you want to rename in the Layers panel.
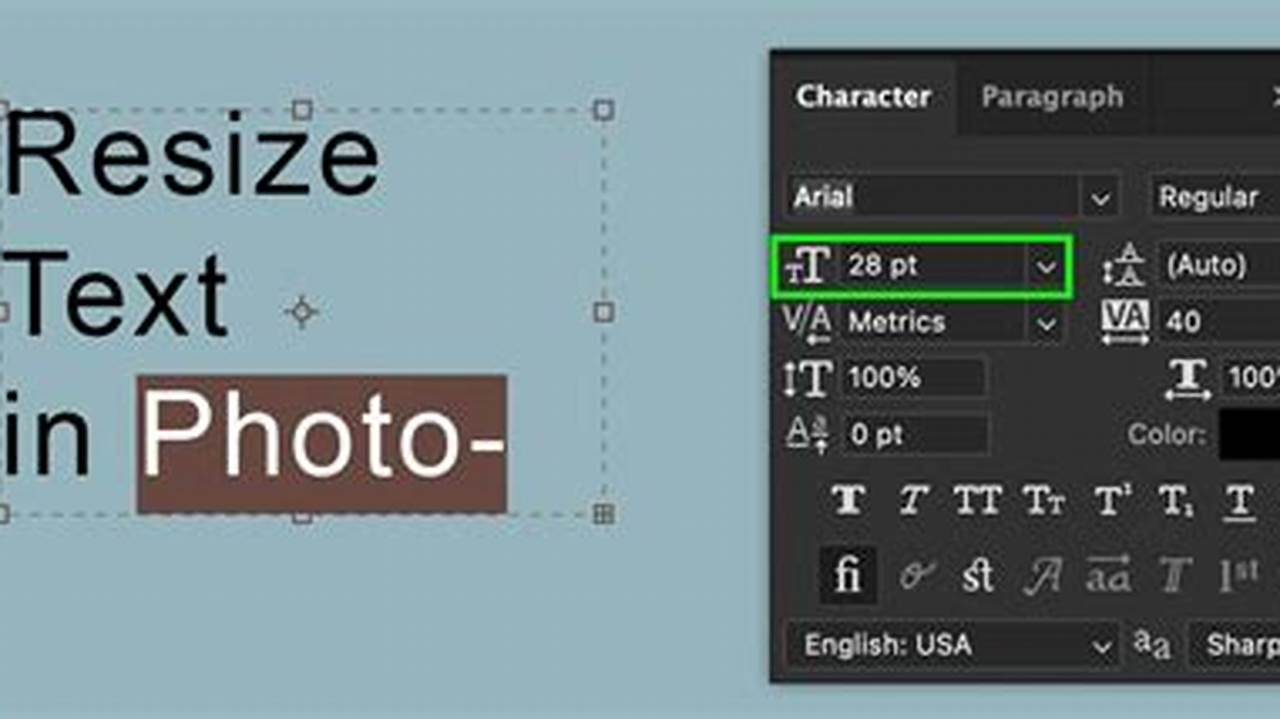
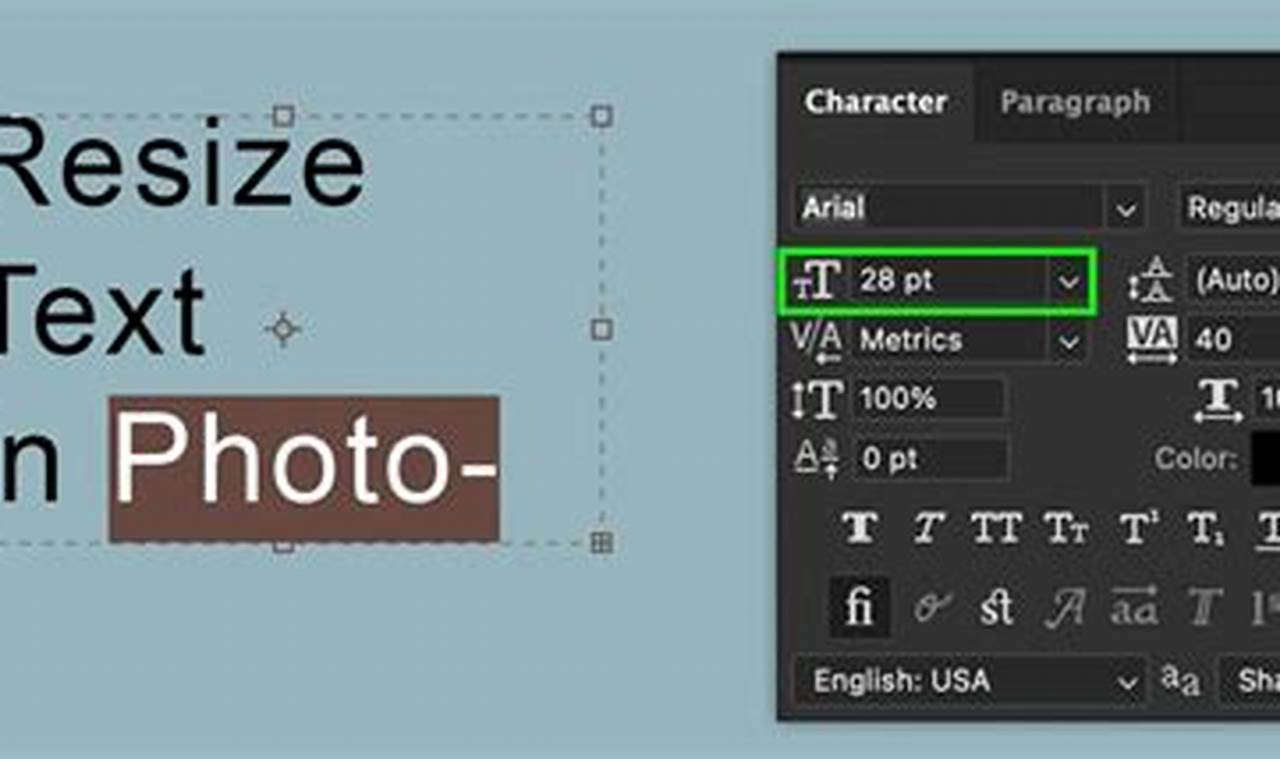
Text resolution refers to the sharpness and clarity of text in an image. It is measured in pixels per inch (PPI), and the higher the PPI, the sharper the text will appear. When working with images in Photoshop, it is important to ensure that the text has a high enough resolution to be legible and visually appealing.
There are several ways to increase the text resolution in Photoshop. One method is to simply increase the font size of the text. However, this can result in the text becoming too large or distorted. A better solution is to use the “Image Size” dialog box to increase the resolution of the entire image. This will increase the PPI of the text as well as the rest of the image.
In Adobe Photoshop, adding to a pen selection is a crucial technique that allows you to expand and refine your selections. Whether you’re working on complex image composites, isolating objects, or creating precise masks, understanding how to add to a pen selection is essential for efficient and accurate image editing.
How to Use AI in Photoshop to Remove Glare involves leveraging advanced machine learning algorithms to effectively eliminate glare from images. Glare, often caused by bright light sources, can detract from the overall quality and clarity of a photograph. AI-powered tools provide a convenient and efficient solution for photographers and image editors seeking to enhance their images.
The integration of AI into Photoshop offers several notable benefits. Firstly, it automates the glare removal process, saving significant time and effort compared to manual methods. Additionally, AI algorithms analyze the image content intelligently, enabling precise glare detection and removal while preserving the image’s natural details. Furthermore, AI-powered tools offer user-friendly interfaces, making them accessible to users of all skill levels.
Photoshop How To Give Png White Outline is a technique used to add a white outline around the edges of a PNG image, making it stand out from the background. It is a simple yet effective way to enhance the visibility and impact of an image, especially when placed on top of a colored or textured background.
To give a PNG image a white outline in Photoshop, follow these steps: